


Using sustainable sources of paper, improving texture and enhancing functionality

CoCo Xu
April 19, 2025
How to Create Cheap Luxury Rigid Boxes
Learn how to design stunning luxury rigid boxes on a budget. Our expert tips will help you achieve high-end packaging at an affordable price.
Start Customizing
Design Tips
Back
Table of content
How to Create Cheap Luxury Rigid Boxes
I still remember the first time I got a product in a rigid box—a handmade soy candle from a small online shop. The matte black box with its soft-touch finish made the whole experience feel elegant and thoughtful. That moment stuck with me. So when I started my own business, I knew I wanted packaging that delivered the same impact—without the high price tag.Rigid boxes are now the gold standard in luxury packaging. But for small brands or startups, the cost can feel out of reach. The good news? With the right approach, you can create cheap rigid boxes that still look and feel premium. In this guide, I’ll share practical, hands-on tips to help you strike the perfect balance between cost and quality.
Luxury Without the Price Tag
When people hear “cheap luxury,” they often assume compromise—but that’s not the point. It’s not about faking wealth or pretending your box costs $20 to make. It’s about understanding perceived value and knowing where to invest your budget for maximum return.
What Customers Really Notice
In my experience, customers rarely ask what your box is made from. They notice how it looks and how it feels. Does it feel sturdy in the hand? Does the logo stand out in a subtle, tasteful way? Does the box open smoothly and close with a satisfying fit? These are the touchpoints that create a sense of luxury—even when the materials aren’t the most expensive.Realistically, you’re not going to compete with the rigid box Apple uses for an iPhone. But that’s not the goal. The goal is to create something that elevates your product, aligns with your brand, and creates an emotional response for your customer—all without draining your entire packaging budget.
Rethinking the Thickness Myth
The biggest misconception I had early on was that the thicker the board, the better the box. But after working with several manufacturers, I learned that it’s not just thickness—it’s structure and surface finish that matter most.
Strong Design Beats Thick Board
Using thinner board isn’t necessarily a downgrade if you reinforce it with solid construction. For example, a well-assembled lid with precise folds feels more expensive than a thick board with sloppy gluing. If you're looking to save, consider 1.2mm board instead of 2mm, and put the savings into better surface paper or finishing.
Affordable and Sustainable Options
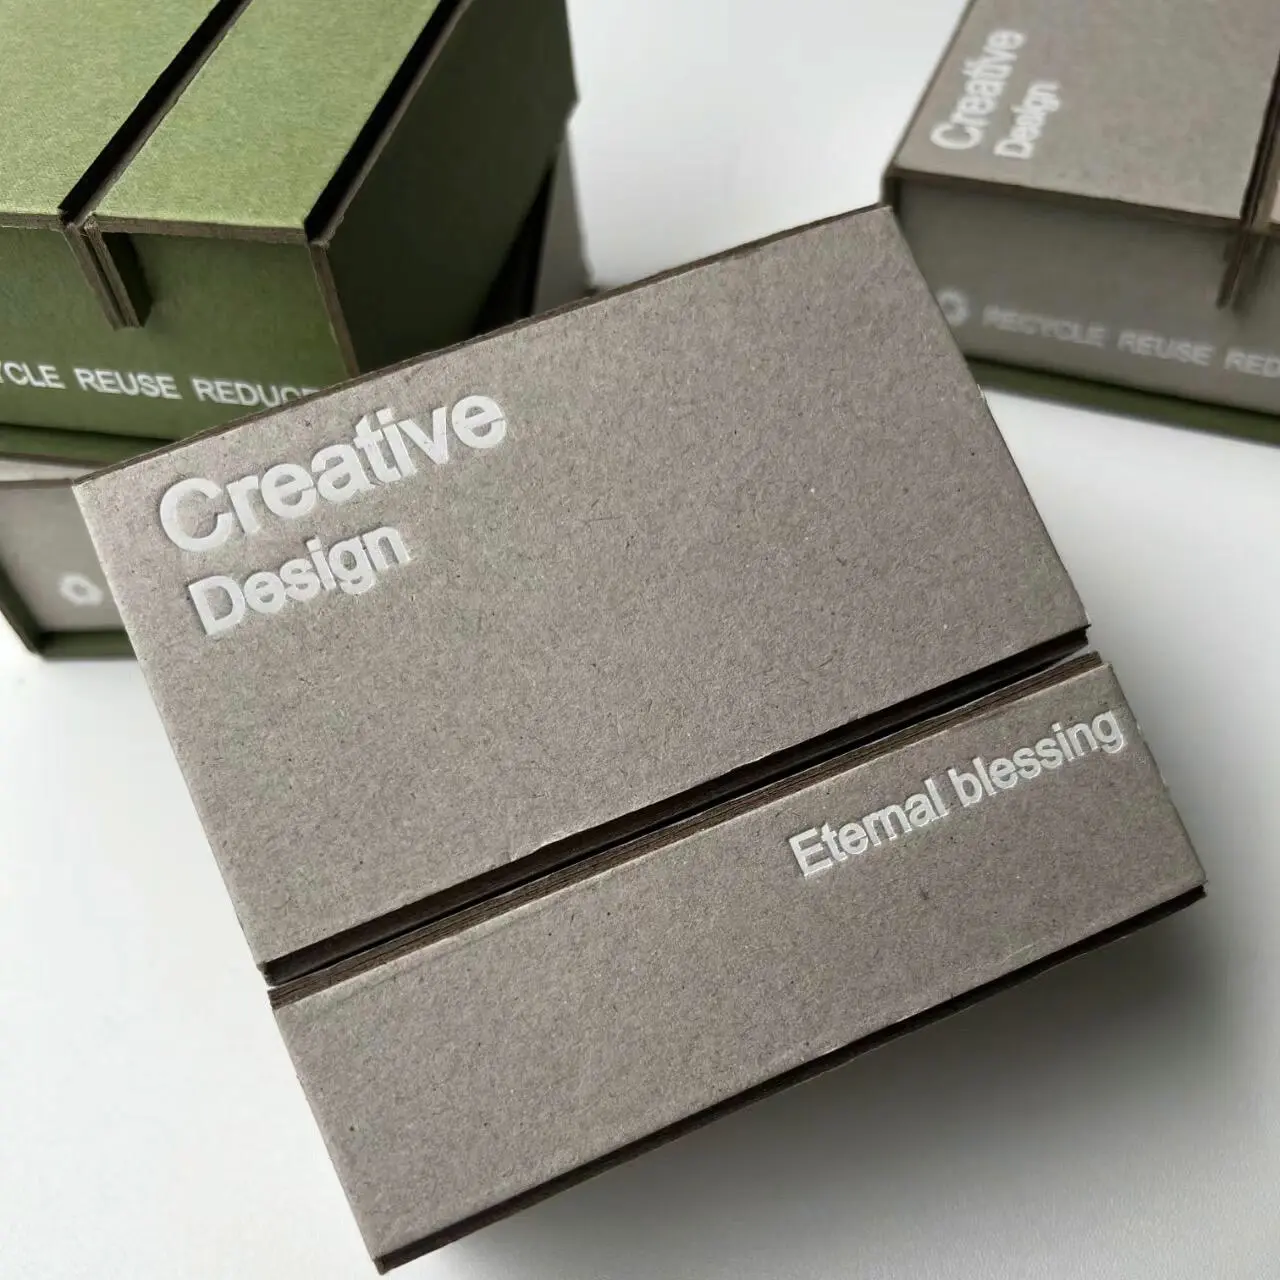
Recycled greyboard has become a favorite of mine—it’s cost-effective and more sustainable. Cover it with textured wrap paper or a matte laminated sheet, and you’re halfway to a luxury experience. Don’t overlook coated paper options either; they can mimic expensive textures like linen or suede at a fraction of the cost.
The Right Combo Is What Counts
You don’t need the most expensive material—you need the right combination of board, wrap, and finishing that works together to give the impression of value.

If I could give one piece of design advice to anyone creating cheap rigid boxes, it’s this: simplicity wins.
Clarity Over Complexity
I’ve seen clients spend a fortune on complex artwork, only to find the result looks cluttered or unpolished. On the flip side, a plain white box with a centered black logo in the right font? Classy and timeless. Minimalism is a luxury cue in itself.
Here’s what I’ve found works best:
· Stick to clean, geometric shapes—rectangles and squares are not only cheaper to produce, but also look neater.
· Limit your color palette. Two-color designs (e.g., matte grey with a white logo) often feel more refined than multicolor.
· Use typography wisely. Fonts like Didot or Garamond lend elegance, while overused script fonts can cheapen the look.
· Avoid clip-art and excessive graphics. If your design doesn’t serve a clear purpose, cut it.
Professional Touch on a Budget
Hiring a freelance designer—even on a modest budget—can bring a professional eye to your vision. A polished layout, consistent spacing, and high-res artwork are often the difference between DIY-looking and designer-level results.

Where the Magic Really Happens
This is where the magic happens. You don’t need gold foil or velvet lining to make your packaging feel luxurious—just smart choices.
Start with Surface Feel
For starters, matte lamination adds a soft, smooth finish that immediately feels more expensive than glossy finishes. I’m also a big fan of soft-touch lamination, which costs slightly more but creates a high-end, almost velvety texture.
Shine with Subtlety
Spot UV is another affordable trick. It highlights specific areas like your logo or pattern with a subtle shine that contrasts beautifully with a matte surface. Used sparingly, it adds depth and sophistication.
Let Texture Do the Talking
Embossing or debossing is effective too, especially for logos. While full-panel embossing can be pricey, a simple blind deboss of your brand name can create a subtle but memorable tactile experience.
Small upgrades like these don’t add much to the total cost—especially in larger batches—but make a huge impact on how your brand is perceived.
Printing Methods: Achieving High-End Looks on a Budget
Let’s talk print. Choosing the wrong method can either destroy your budget or ruin the finish. I learned this the hard way after paying for digital prints that looked great on screen but came out dull and inconsistent in person.
Here’s what I recommend:
· For small batches: digital printing gives flexibility with no plate costs, but it’s pricier per unit. It’s ideal for test runs or personalized packaging.
· For medium to large batches: offset printing becomes more cost-effective. It delivers consistent quality and crisp detail, especially for minimalist designs.
Simple Prints, Sophisticated Feel
Want a hack? Stick to monochrome or two-tone prints. They look intentional and upscale—and they’re cheaper. Don’t try to cram in too many colors or effects just for the sake of complexity.
Silk Screen for Texture and Shine
And don’t forget about silk screen printing—a fantastic choice for bold, graphic logos or metallic accents. It adds richness to the surface, especially when done on textured paper or matte laminates.
Hands-On Learning with DIY
There’s something incredibly rewarding about making your own packaging—especially if you’re just starting out. I spent a few weekends experimenting with templates, paper, glue, and greyboard. It taught me a lot about structure, tolerances, and what works (and what definitely doesn’t).
DIY for Small Batches and Full Control
DIY can be great if you’re producing fewer than 50 boxes and want full control. But it comes with tradeoffs: time, precision, and a steep learning curve. Your boxes might look handmade—and not always in a good way.
Outsourcing, meanwhile, opens up professional quality and bulk pricing. You just need to be savvy: ask for samples, compare vendors, and negotiate minimum order quantities. A good supplier will work with your budget and help you avoid rookie mistakes.
Try It First, Then Scale
If you’re wondering how to make a rigid box?, try making one or two by hand first. It’s the best way to understand the process—and to speak the same language as your manufacturer when discussing folds, flaps, and finishes.
Sourcing Affordable Components and Suppliers
This part often feels overwhelming—but it doesn’t have to be. Start by making a list of components: board, wrap paper, adhesives, finishing services, printing.
Then explore your options:
· Local printers: sometimes more expensive, but great for quick prototypes and low MOQ.
· Online B2B platforms like Alibaba or Made-in-China: excellent for sourcing in bulk, but do your homework—check reviews, certifications, and communication.
· Niche packaging suppliers: many now offer eco-friendly or low-cost luxury lines.
Always request samples. It’s tempting to go with the cheapest quote, but quality can vary wildly. And remember—shipping costs matter too. A slightly more expensive domestic option might save you in the long run.
Get multiple quotes. Compare turnaround times. Build relationships. These steps might seem tedious, but they’re worth it when you find a supplier who “gets” your brand.
Precision Is the Foundation
Even the best materials and design fall short if the final product looks sloppy. If you’re assembling boxes yourself—or checking a vendor’s work—here’s what to look for.
Get the Basics Right
Start with precise measurements. Use jigs or guides to keep folds straight. Corners should be tight, with no overhanging edges or visible glue. When gluing, less is more—excess adhesive seeping out kills the luxury vibe instantly.
Smooth Surfaces Matter
Use a bone folder or credit card edge to smooth paper wrap and avoid bubbles. Always assemble in a clean, dry space with good lighting. Trust me, it’s the little things—neatly wrapped corners, aligned lids, clean edges—that set your cheap rigid boxes apart from cheap-looking ones.
Conclusion: Achieving Luxury Packaging Within Reach
Creating cheap rigid boxes that still feel elegant isn’t just possible—it’s practical. With the right strategy, you can achieve a luxury aesthetic that fits your budget and boosts your brand image.
Here’s what I’ve learned after years of trial, error, and success:
· Focus on perceived value, not material cost.
· Choose smart designs that speak volumes through simplicity.
· Use finishing techniques wisely—they’re game-changers.
· Be curious, test often, and don’t be afraid to get hands-on.
Whether you’re a small business owner or a creative entrepreneur, luxury is no longer out of reach. With planning and intention, your packaging can become one of your biggest brand assets.
If you're looking for trustworthy manufacturers or deeper resources, I personally recommend GUKA PACKAGING. Their balance of quality and affordability has been a game-changer for many small businesses I’ve worked with. Luxury isn’t always about price—it’s about experience. And with the right rigid box, you can offer exactly that.
Recommended for you

Discover more option
You might enjoy
We are happy to hear from you
Customized
Packaging
Consultation
Expert Solutions for Your Business
Material Innovation
Structural innovation
Environmentally friendly and easy todisassemble structure, modular design, achieving flexible combination and diverse customization
Efficient implementation
Through our simplified consultingprocess and professional docking services, we can quickly produce satisfactory products
Oops! Something went wrong while submitting the form. Contact us by email support@gukapackaging.com


